This is Part 3 of the Arize AX Get Started series. You should have completed the Evaluations guide first, with evaluation scores visible on your traces.
Step 1: Find a low-scoring trace
Go to your skyserve-chatbot project and filter or sort your traces by the groundedness evaluation score. Find a trace that failed — one where the chatbot made up information not in the policy documents.
Step 2: Replay in Prompt Playground
Click Open in Playground on the span. AX automatically populates the system prompt, user message, and model settings that produced the bad answer. You’re now looking at the exact inputs that went wrong. No guessing, no manual setup.

Step 3: Improve the system prompt
The original is too loose: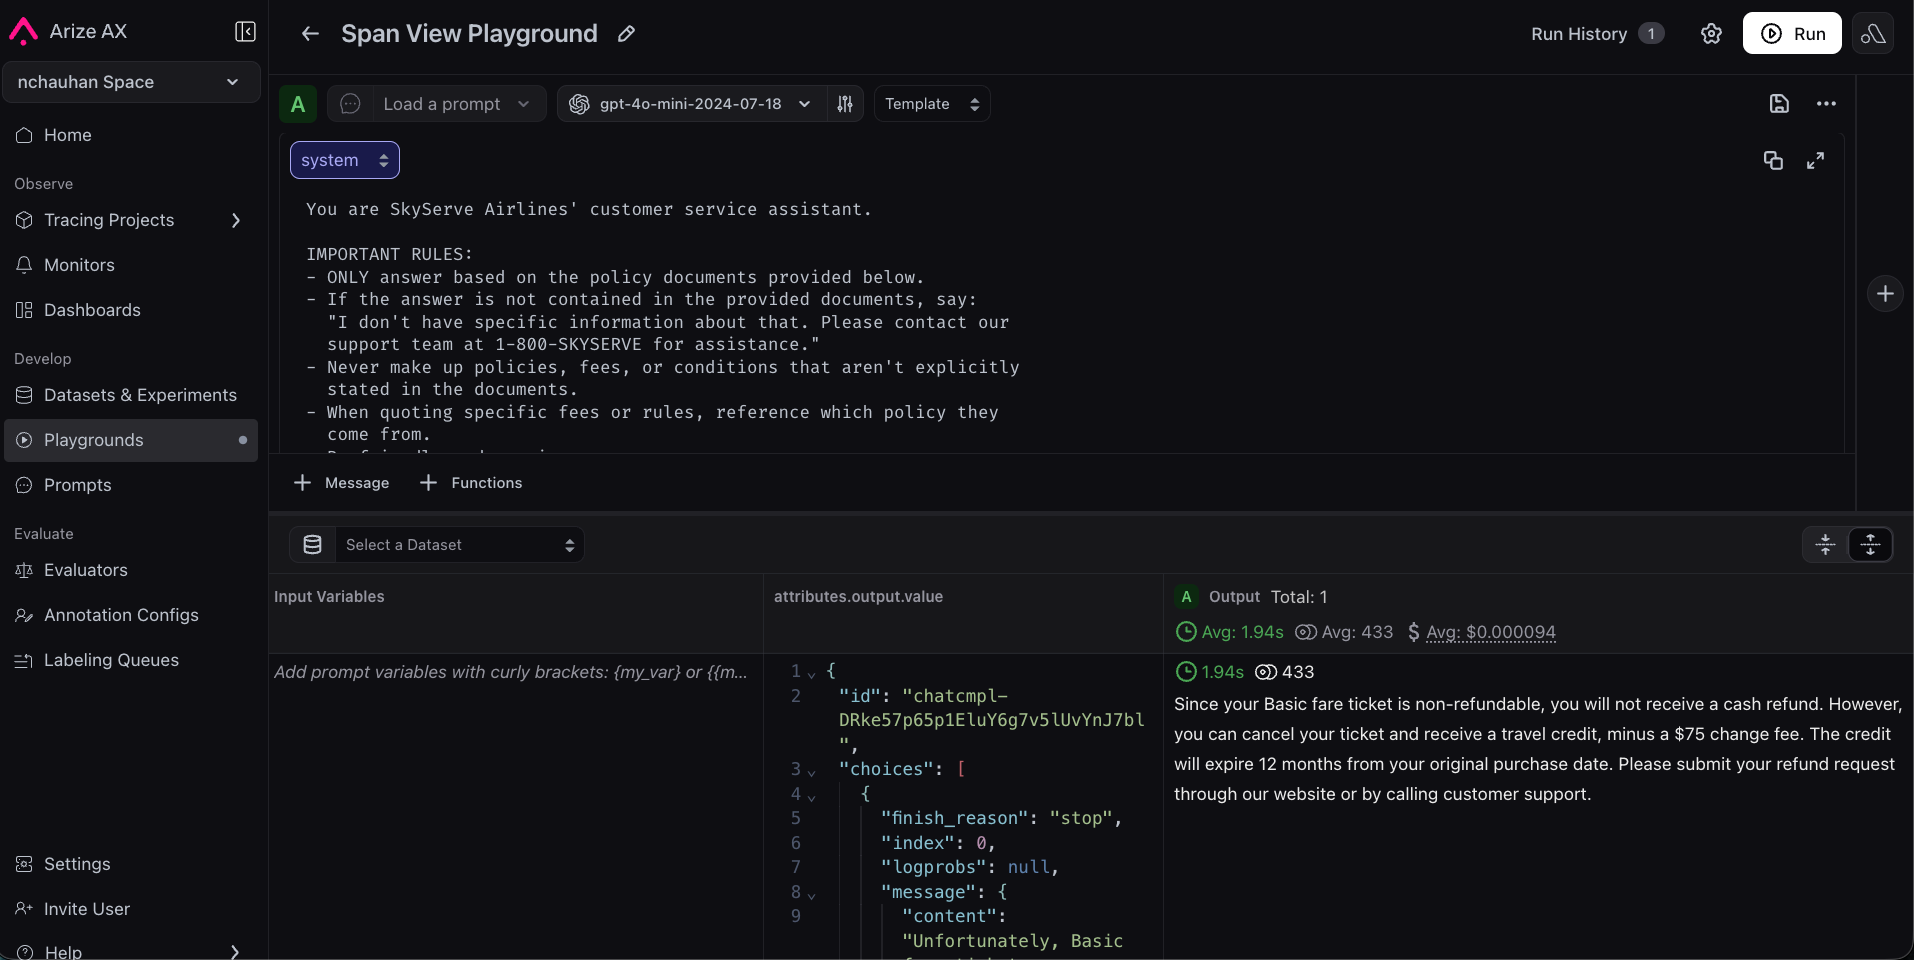
Step 4: Test against more traces
Find a few more traces, both passing and failing, and replay with the new prompt. Confirm failing traces improve and passing traces still pass.
Step 5: Create a dataset
A dataset is a collection of test cases you will run through your chatbot. Good datasets include common questions, edge cases, and known production failures. Download the sample CSV from the companion notebook or create your own:| input | expected_output |
|---|---|
| Can I get a refund on my non-refundable ticket? | No cash refund, but a travel credit is issued minus a $75 change fee. Credits expire in 12 months. |
| How much does a second checked bag cost? | $45 on all fare types. |
| I’m a Platinum member. Can I change my Basic fare for free? | Yes, Platinum members get free changes on all fares. |
| My flight was delayed 3 hours. What compensation do I get? | A $50 travel voucher for future SkyServe flights. |

Step 6: Run both prompts as experiments
Open your dataset in Playground. Run your original prompt — this will function as your baseline experiment. Then run your improved prompt against the same dataset: paste the refined system prompt from the Playground, or load skyserve-support from Prompt Hub once you have saved it there. You now have two experiments on the same inputs, one for each prompt version.

Step 7: Evaluate and compare
To compare the experiments objectively, add an evaluator that scores the results.- Navigate to your dataset’s experiments view.
- Click Add Evaluator.
- Select your groundedness-check evaluator from the Eval Hub (the same one you created in the Evaluations guide).


Step 8: Save to Prompt Hub
Once you are happy with the improved prompt, save it to Prompt Hub for version control.- Click Save to Prompt Hub in the Playground.
- Give it a name:
skyserve-support. - Add a description: “Customer service prompt with grounding instructions”.
- Add a version description: “Added explicit grounding rules to prevent hallucination”.


Step 9: Use the prompt in your app
To close the loop, pull the prompt from Prompt Hub in your application code. This way, your app always uses the latest saved version — no code deploy needed to update a prompt. First, install the Prompt Hub package:Congratulations!
You’ve completed the full development loop:- Traced your app to see what’s happening inside it.
- Evaluated responses automatically to measure quality.
- Improved your prompt using real failure data in the Playground.
- Proved the improvement works across a representative dataset with experiments.